Payment Integrations
A guide for your Integration IDs.
By reading this guide you will understand the functionalities of the payment integrations tab found in your dashboard and you will be able to create/control your own payment integration IDs
Summary
A payment integration ID is a unique identifier per merchant for his payment methods since Accept offers a wide variety of payment methods, "Cards, Mobile Wallets, Kiosk Payments, etc..." each of which has a unique reference ID that is mapped to your Accept account. It has two statuses, Test and Live.
When you create a new payment integration ID, by default, its status is set to "Test," which means it can only be used for processing test transactions with the test credentials for the sandbox and testing environments.
A newly created Accept account by default has a new test card integration ID assigned to it; you can add more integration IDs to your account according to your integration needs.
You can control payment integrations from your portal - Payment Integrations tab.
Payment Integrations Tab
-
Log in to your Accept [portal].
"Sign up a new account if you don't already have one"
"Learn how to create a new Accept account" -
In your dashboard, click on the [Payment Integrations] tab in your navigation board, as viewed in the image below.

Accept Dashboard - Navigation Board.
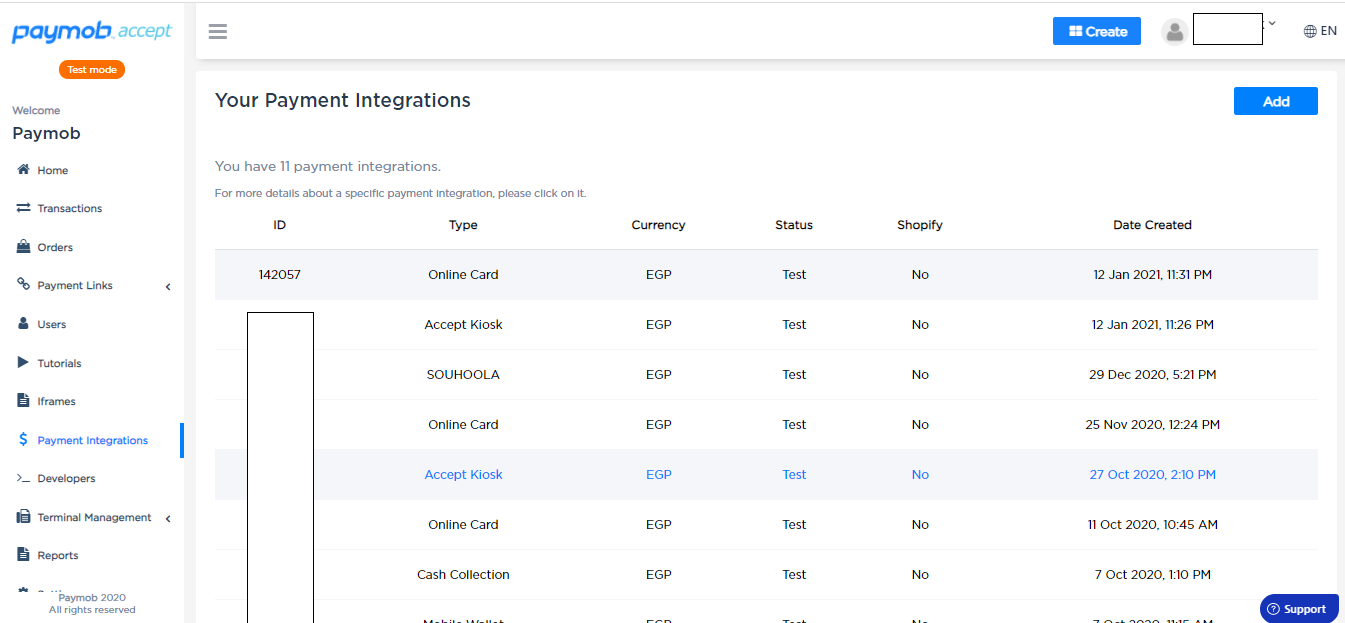
- Now you should find all the existing payment method integration IDs related to your Accept account listed as viewed below.

Accept Dashboard - Payment Integrations tab.
| Column Name | Description |
|---|---|
| ID | An integer number referencing to this integration, each payment method you're integrating with has a unique integer identifier. |
| Type | The type of this integration ID "Card, Wallets, Kiosk, Cash, etc...". |
| Currency | The currency of this integration ID "EGP, USD, etc...". |
| Status | The status of this integration ID Test or Live. |
| Shopify | Defines whether this integration ID could be used for Shopify E-Commerce platform or not. |
| Created At | The date and time of creating this integration ID. |
Adding New Integration ID
Let's create a new Kiosk integration ID...
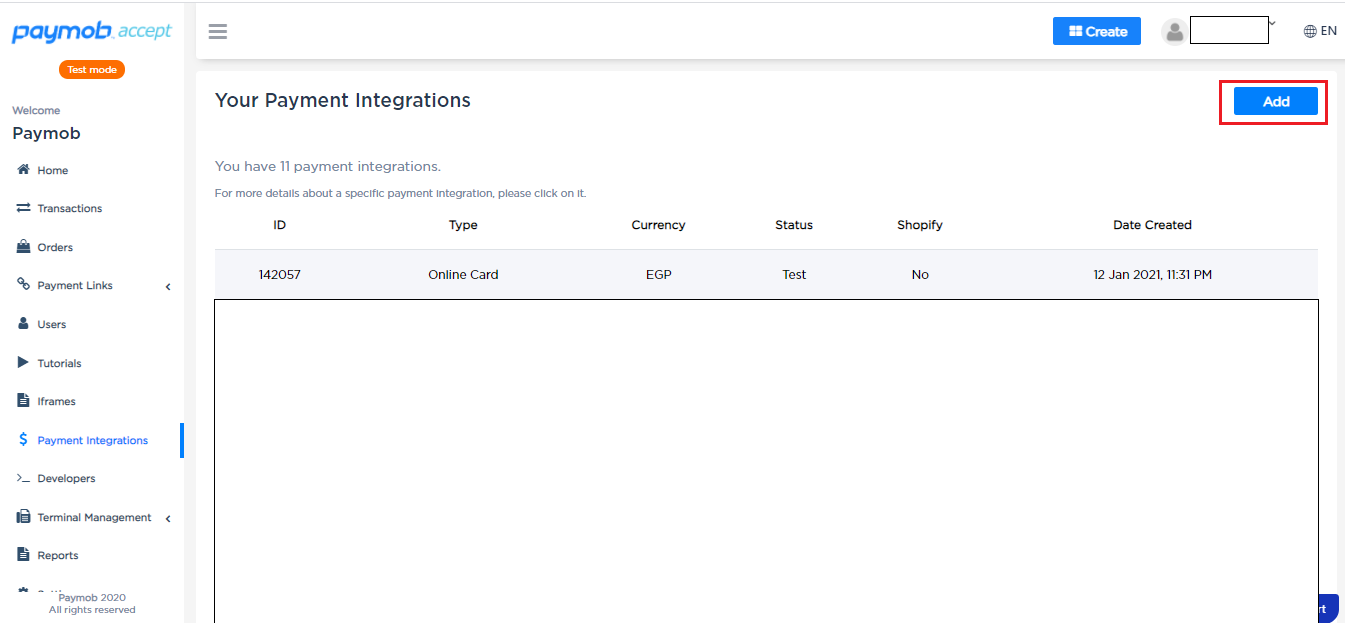
- In your Payment Integrations tab, click on add in the upper right corner as viewed in the image below.

Accept Dashboard - Payment Integrations tab.
- A pop-up screen as the image below should appear to you.
Accept Dashboard - Payment Integrations add.
- Click on the type field and choose "Accept Kiosk".
Accept Dashboard - Payment Integrations add.
- Set the currency to be EGP.
Accept Dashboard - Payment Integrations add.
Use Shopify
Accept provides plugins for many e-commerce platforms, one of many is Shopify.
If you're creating this integration ID to accept payments through your Shopify platform, please check the "Use Shopify" button in your integration ID creation tab.
| Field | Description |
|---|---|
| Type | The type of payment integration "Card, Wallets, Kiosk, Cash, etc..." |
| Currency | The currency that this payment method should support "EGP, USD, etc.." |
| Transaction Processed Callback URL | Leave it as it is, click here to learn more. |
| Transaction Response Callback URL | Leave it as it is, click here to learn more. |
- Now its time to set your callback URLs to your integration ID.
If you're using one of Accept's standalone checkout tools, leave the callback URLs as it is, click on the submit button and that's it you're ready to use your integration ID.
If you're integrating with Accept through one of its e-commerce platforms plugins, use the following callback URLs depending on the platform you're using.
| Platform | Transaction Processed Callback | Transaction Response Callback |
|---|---|---|
| WooCommerce | {your-website-URL}/wc-api/wc-accept-online/ | {your-website-URL}/wc-api/wc-accept-online/ |
| Shopify | https://accept.paymobsolutions.com/api/acceptance/shopify_callback | https://accept.paymobsolutions.com/api/acceptance/shopify_callback |
| ECWID | https://accept.paymobsolutions.com/api/acceptance/ecwid_callback | https://accept.paymobsolutions.com/api/acceptance/ecwid_callback |
If you're integrating with Accept directly through your APIs, please check the transaction callbacks guide.
Now your integration ID is ready to be used as a test ID.
Note that any integration ID you create from your dashboard its status set to be Test; if you want to turn it to be live, please check the going live guide.
Going Live
You've registered a new Accept account, you've chosen your integration use case, and added new payment integrations depending on your needs, now its time to know about going live process.
Updated 5 months ago
